Cream Products Decoded: Fingers vs Brush
Cream formulas can look seamless or suddenly patchy depending on what touches the skin. The right tool isn’t just preference—it changes heat, pressure, and how much product gets absorbed before it ever reaches your face. Use the guide below to decide when fingers outperform a brush (and when they don’t), plus a fast checklist for base, blush, bronzer, highlighter, and eye products.
What changes when a cream hits skin
Creams sit in the middle ground between skincare and makeup: they soften with warmth, shift with pressure, and can re-emulsify when layered over dewy base products. That’s why the same formula can look glassy and smooth one day, then streaky the next—without changing the product at all.
Blend quality usually comes down to three levers:
- Heat: Warmth melts creams so they spread thinner and look more “skin-like.”
- Friction: Movement (especially swiping) can pull product across texture, create streaks, or lift what’s underneath.
- Absorbency: Skin and tools can “drink” cream; the more absorption, the more you tend to over-apply to compensate.
A quick rule: tapping tends to keep pigment where you place it; swiping tends to move both the cream and the layers underneath it.
Fingers: where they win (and where they don’t)
When fingers shine
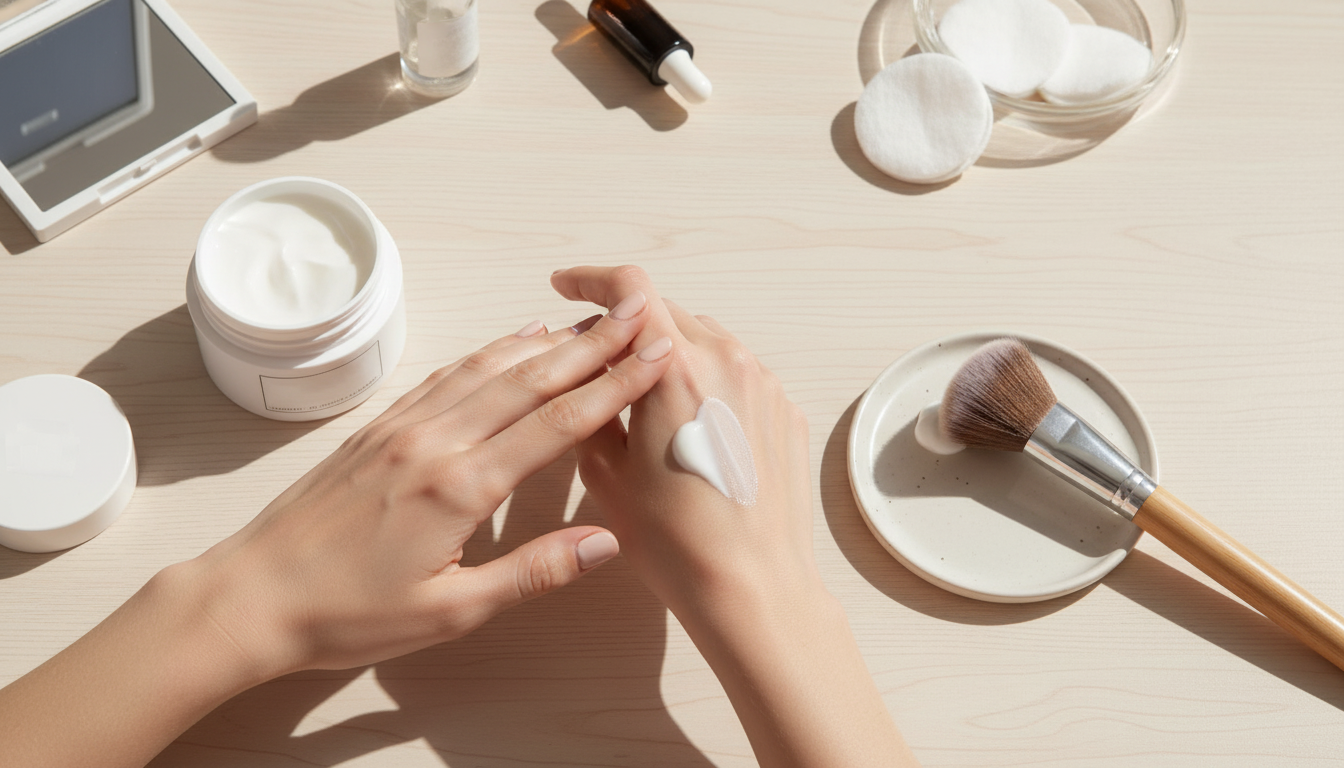
Fingers are best for quick diffusion, a skin-like finish, and melting thicker creams into your base—especially on cheeks and lids. Fingertip warmth softens product instantly, and tapping presses pigment into natural skin texture so edges disappear faster.
- Best for: cream blush on bare-to-light base, cream highlighter tapped on high points, cream shadow as a wash.
- Best finish: “lived-in,” seamless, slightly dewy.
Watch-outs
Fingers can lift makeup underneath if you rub. They can also shift SPF or a fresh base layer if you press too hard or repeatedly go over the same area. If your foundation is prone to moving, use fingertips to place product, then stop—don’t chase perfection with extra swipes.
Hygiene and product safety
Wash hands before application and avoid dipping unwashed fingers directly into pots. If a cream comes in a jar, consider scooping with a clean spatula or using the back of your hand as a palette to reduce contamination. For general cosmetic safety guidance, the U.S. Food & Drug Administration (FDA) cosmetics safety page is a helpful reference.
Technique cue
Tap to place, then tap to blend. Avoid long swipes on top of set foundation—especially around pores, peach fuzz, or dry patches.
Brushes: where they win (and where they don’t)
When brushes beat fingers
Brushes are best for controlled placement, even coverage building, and keeping the finish consistent across both sides of the face. If you want symmetry (matching blush height, mirrored contour placement, even base coverage), a brush gives repeatable results.
- Dense synthetic buffing brush: great for cream foundation/tint over larger areas.
- Small dense synthetic: ideal for concealer around the nose and under-eye.
- Duo-fiber: sheers out cream blush/bronzer without overloading pigment.
- Small tapered brush: more precise cream contour placement.
Synthetic bristles generally absorb less product than natural hair, keeping creams from sinking into the brush and helping you use less product overall.
Watch-outs
Some brushes leave micro-streaks when they’re too dry or when they’re overloaded with cream. Overly dense brushes can also grab the base underneath and create patchiness—especially if you buff aggressively.
Technique cue
Fast decision guide by product type
The checklist: pick the right tool in 10 seconds
Fingers vs Brush Checklist for Cream Products
| Cream product |
Choose fingers when… |
Choose a brush when… |
Quick technique |
| Foundation/tint |
Sheer finish, quick blending, dry patches need pressing |
Even coverage, large areas, want consistency |
Stipple then short buff; finish with taps |
| Concealer |
Pressing into dryness, minimal product, touch-ups |
Precision around inner corner/nostrils |
Place, wait 10–20s, then tap-blend |
| Blush |
Natural flush, dewy base, minimal makeup day |
Symmetry, layering over foundation without lifting |
Tap to place; feather edges outward |
| Bronzer/contour |
Very sheer warmth, small amount, casual look |
Placement control (cheek hollow/temple/jaw) |
Stipple lines, then diffuse edges |
| Highlighter |
Targeted glow, no texture emphasis |
Soft veil across larger area |
Tap on high points; avoid dragging |
| Cream eyeshadow |
Quick wash, finger-smudge effect |
Detail work, outer corner shaping |
Press, then soften edges with small brush |
Troubleshooting: streaks, pilling, and product lifting
Streaks
Pilling
Pilling often comes from friction plus an incompatible base (for example, heavy skincare topped with silicone-heavy makeup). Let skincare set, reduce rubbing, and apply in thinner layers. If you’re adjusting your cleansing routine to support smoother makeup wear, the American Academy of Dermatology Association’s face washing guidance is a solid starting point.
Lifting underneath
Care and cleaning for cream-friendly tools
Shop quick-reference guides
FAQ
Is it better to apply cream blush with fingers or a brush?
Fingers are great for a sheer, skin-like flush and quick diffusion, especially when you tap. A synthetic brush is better for symmetry and building color without lifting your base, using stippling instead of swiping.
Why does my cream product look patchy when I use a brush?
Patchiness usually comes from too much product on the bristles, buffing before the cream is placed, residue buildup on the brush, or the base moving underneath. Wipe off excess, stipple first with lighter pressure, and make sure your skincare and base have set.
Can fingers ruin foundation underneath cream bronzer or blush?
They can if you drag or press too hard, which shifts the foundation. Use minimal product and tap/press instead of swiping; if your base is delicate, lightly set the area first so the cream blends on top rather than into it.
Recommended for you











Leave a comment