Clean Brushes, Better Makeup: The Simple Routine That Works
Clean makeup brushes do more than “feel nice”—they help foundation sit smoother, keep colors true, and reduce the buildup of oil, dead skin, and product residue that can transfer right back onto the face. The best part is consistency doesn’t require fancy tools. With a simple setup, a repeatable sequence, and a realistic schedule, clean tools become an easy habit instead of a once-in-a-while chore. For more guidance, see How to Clean Your Makeup Brushes – Brown Beauty Barber School.
Why brush hygiene changes the way makeup looks (and feels)
When brushes are freshly cleaned, makeup behaves the way it was formulated to behave. That shows up immediately in how your base blends and how your color products read on the skin. For further reading, see How to Clean Makeup Brushes | Reviews by Wirecutter.
- More even application: bristles that aren’t coated in old pigment and oils lay product down smoothly instead of skipping or streaking.
- Better blending: clean bristles stay flexible and fluffy rather than stiff and clumped, so edges diffuse faster.
- Truer color payoff: especially for eyeshadow and blush, clean tools prevent muddy mixing and tone shifts.
- Less irritation risk: less transfer of bacteria and yeast from brush to skin can help reduce aggravation of breakouts and sensitivity.
- Longer brush life: residue can break down the glue in the ferrule and stress fibers over time—cleaning helps brushes keep their shape.
For more on hygiene basics, the American Academy of Dermatology Association shares practical guidance for keeping tools clean, and the American Academy of Ophthalmology offers helpful eye makeup hygiene tips when irritation or styes are a concern.
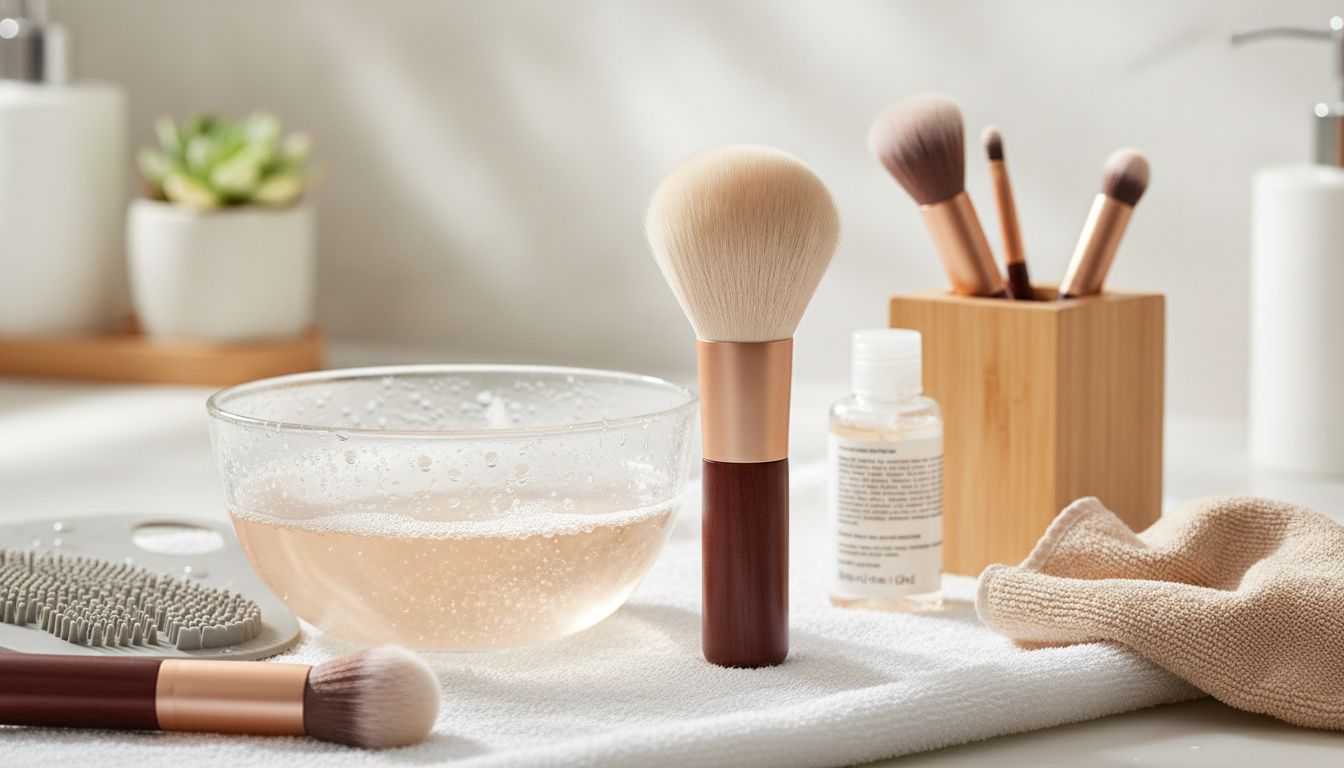
What you need (simple, no-frills setup)
A reliable routine is easier when the supplies are uncomplicated and already within reach.
- Gentle cleanser: mild dish soap, baby shampoo, or a dedicated brush cleanser.
- Lukewarm water: hot water can loosen glue and stress fibers.
- Clean towel or microfiber cloth: for squeezing out water and reshaping.
- Optional textured cleaning mat: a silicone pad can speed up lathering, especially for dense foundation brushes.
- Drying setup: lay brushes flat on a towel with heads hanging slightly off the edge for airflow.
The simple routine that works: step-by-step brush cleaning
Use the same sequence every time so nothing gets missed. It’s quick once it becomes muscle memory.
- Wet only the bristles: hold the brush angled downward so water doesn’t run into the ferrule.
- Cleanse: swirl bristles in cleanser, or work cleanser into the bristles with fingers or a cleaning pad until it lathers.
- Rinse thoroughly: rinse until water runs clear; repeat the cleanse if pigment or a slippery film remains.
- Remove excess water: gently squeeze from base to tip—no twisting, yanking, or aggressive scrubbing.
- Reshape: smooth bristles back into their original silhouette while damp.
- Dry correctly: lay flat on a towel with the brush angled downward; avoid drying upright while wet.
- Optional between-wash refresh: mist with 70% isopropyl alcohol and wipe, then allow to fully dry (useful between colors, not a replacement for washing).
How often to clean: a realistic schedule
The right frequency depends on what the tool touches. Creams and liquids leave a film faster than powders, and eye tools deserve extra attention if irritation happens easily.
- Daily/after each use: sponges and tools used with liquid/cream complexion products (best practice).
- Every 1–3 uses: brushes used with liquid or cream products (foundation, concealer, cream blush/bronzer).
- Weekly: eye brushes (especially if prone to irritation, allergies, or styes).
- Every 1–2 weeks: powder brushes (blush, bronzer, setting powder), depending on use.
- Immediately: after using products on active breakouts, cold sores, eye infections, or if a brush smells musty.
Makeup Brush Cleaning Checklist (quick schedule)
| Tool type |
Used with |
Clean this often |
Notes |
| Beauty sponge |
Liquid/cream base |
After each use |
Squeeze until water runs clear; dry fully to prevent odor |
| Foundation brush |
Liquid foundation/skin tint |
Every 1–3 uses |
Residue builds fast; deep-clean if streaking starts |
| Concealer brush |
Liquid/cream concealer |
Every 1–3 uses |
Pay attention to the base of bristles where product hides |
| Cream blush/bronzer brush |
Cream pigments |
Weekly |
Double-cleanse if bristles feel waxy |
| Powder blush/bronzer brush |
Powders |
Every 1–2 weeks |
Tap out excess powder after each use to extend time between washes |
| Eyeshadow blending brush |
Powders/creams |
Weekly |
Spot-clean between colors to avoid muddy blends |
| Eyeliner/lip brush |
Cream/gel products |
After each use |
Prevents hardened product and improves precision |
Common mistakes that keep brushes from getting truly clean
Troubleshooting: when brushes feel scratchy, shed, or smell
A printable-style checklist to keep near your vanity
A simple guide that keeps the routine consistent
FAQ
Can makeup brushes be cleaned with dish soap?
Yes. A mild dish soap can cut through oils and cream products—use a small amount, avoid soaking the ferrule, rinse until the water runs clear, and reshape the bristles to dry flat.
How long should makeup brushes dry after washing?
Most brushes dry in about 6–24 hours depending on density and humidity. Lay them flat with bristles angled downward and avoid using them until fully dry to help prevent odor and protect the glue.
Is brush cleaning spray enough on its own?
Not usually. Sprays are helpful for a quick refresh between colors, but they don’t remove built-up oils and product residue, so regular washing with cleanser and water is still needed.
Recommended for you


Leave a comment